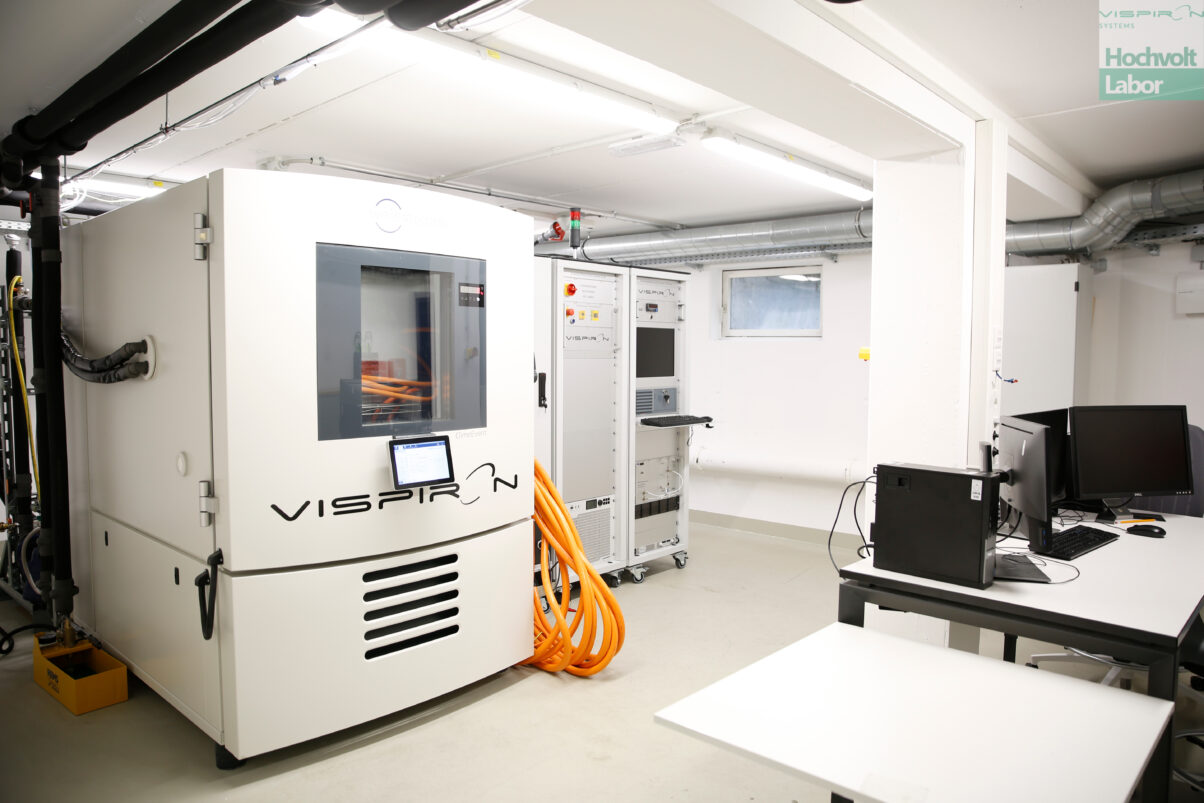
Power Electronics – Validation Measurement
VISPIRON SYSTEMS provides the infrastructure for the test services of the high-voltage laboratory. In the project “Safeguarding Power Electronics” of a customer from the automotive sector, power electronics components were checked for leakage and underwent intensive tests.
1. Initial Situation - Leakproofness of Power Electronics
For our customer from the automotive sector, the power electronics for the vehicle is tested in many different manners. Among other things, also regarding the leakproofness of the cooling circuit. For this purpose, a special test rig for various tests exists which carries out tests to prove the leakproofness of the power electronics. However, one of these tests initially repeatedly delivered measurement results that deviated from the set limit values, even though no signs of leaks could be detected upon closer analysis. This test was a static pressure test in which a static pressure is applied to the cooling circuit for various operating temperatures and operating pressures and the pressure decrease is measured over a defined period

2. Challenge - Test Development
Since the DUT (= areas/parts subjected to the test) did not show any signs of leakage upon closer analysis, yet an excessive pressure drop was measured, possible causes for this behaviour had to be found and matching verification methods defined. Since the limit values were based on the evaluated test results from tests in earlier sample phases and since there are no precise legal specifications on the permitted pressure drop in this test, the limit values also had to be checked and, if necessary, redefined.
3. Procedure - Evaluation and Test Execution
As previously described, the DUT did not show any leaks when analysed in detail, and therefore the results of the existing measurement first had to be explicitly evaluated again to be able to rule out faulty test performance or defects in the test equipment. These checks did not reveal any abnormalities. Consequently, a comparative measurement with a properly leaking sample quickly became necessary regarding the further procedure. To obtain meaningful results based on this procedure, a realistic leakage rate and a suitable leak size associated with it must be defined, and a pattern must then be modified accordingly. With the help of a simulation and in consultation with the experts from the specialist department for the cooling channel, a leak size of 0.03mm diameter was defined, which is comparable to a hairline crack in the material. Since a leak of this size cannot simply be created with a conventional drill, the hole with a diameter of only 0.03mm had to be implemented by an external company using laser technology.
4. Conclusion - Test Result
During the comparative measurement, the modified sample showed clearly visible leaks, though this was not reflected in the resulting measured values. In the other pressure tests, however, the difference in the measured values was evident. This test setup showed that no leaks could be detected with the static pressure test as explained, but that a leak could be detected with the other pressure tests. Based on these findings, the customer decided not to perform the static pressure test in this way in the future.

